El Capitan County Preserve
EL CAPITAN COUNTY PRESERVE

In one word, describe...
... this hike? TOUGH!
... how you feel after the hike? TOUGH!
After Mt. Gower County Preserve hike the previous week, we rested our bodies and nursed our knees - for a week - just to get ourselves ready for this one. The last and toughest hike in the SD County Tour Our Trails Challenge, the El Capitan County Preserve hike photo-op evidence is the El Cajon Mountain Peak Sign after 11+ miles and at 3675 elevation. One blogger even called County of SD Parks and Recreation as "mean" for including this hike. In fact, we didn't even think we'd actually do this, telling a park ranger, "we might not finish the Tough Trails anyway..." when we insisted on picking-up our prizes for the Easy and Moderate Trails categories. But, after finishing 14 trails, we could not possibly not finish this challenge. This trail is tough; so is life!
How tough? Read for yourself.
We saw this image from a blog. This sign motivated us to wake-up real early. We arrived at the park entrance before 5:30 AM. Note that the gates to the parking lot do not open until 8:00 AM, but if we waited for the gates to open, we might just not beat that sign. Then before you "trespass," you will see a sign warning you to check your water supply.
 | ||||
|


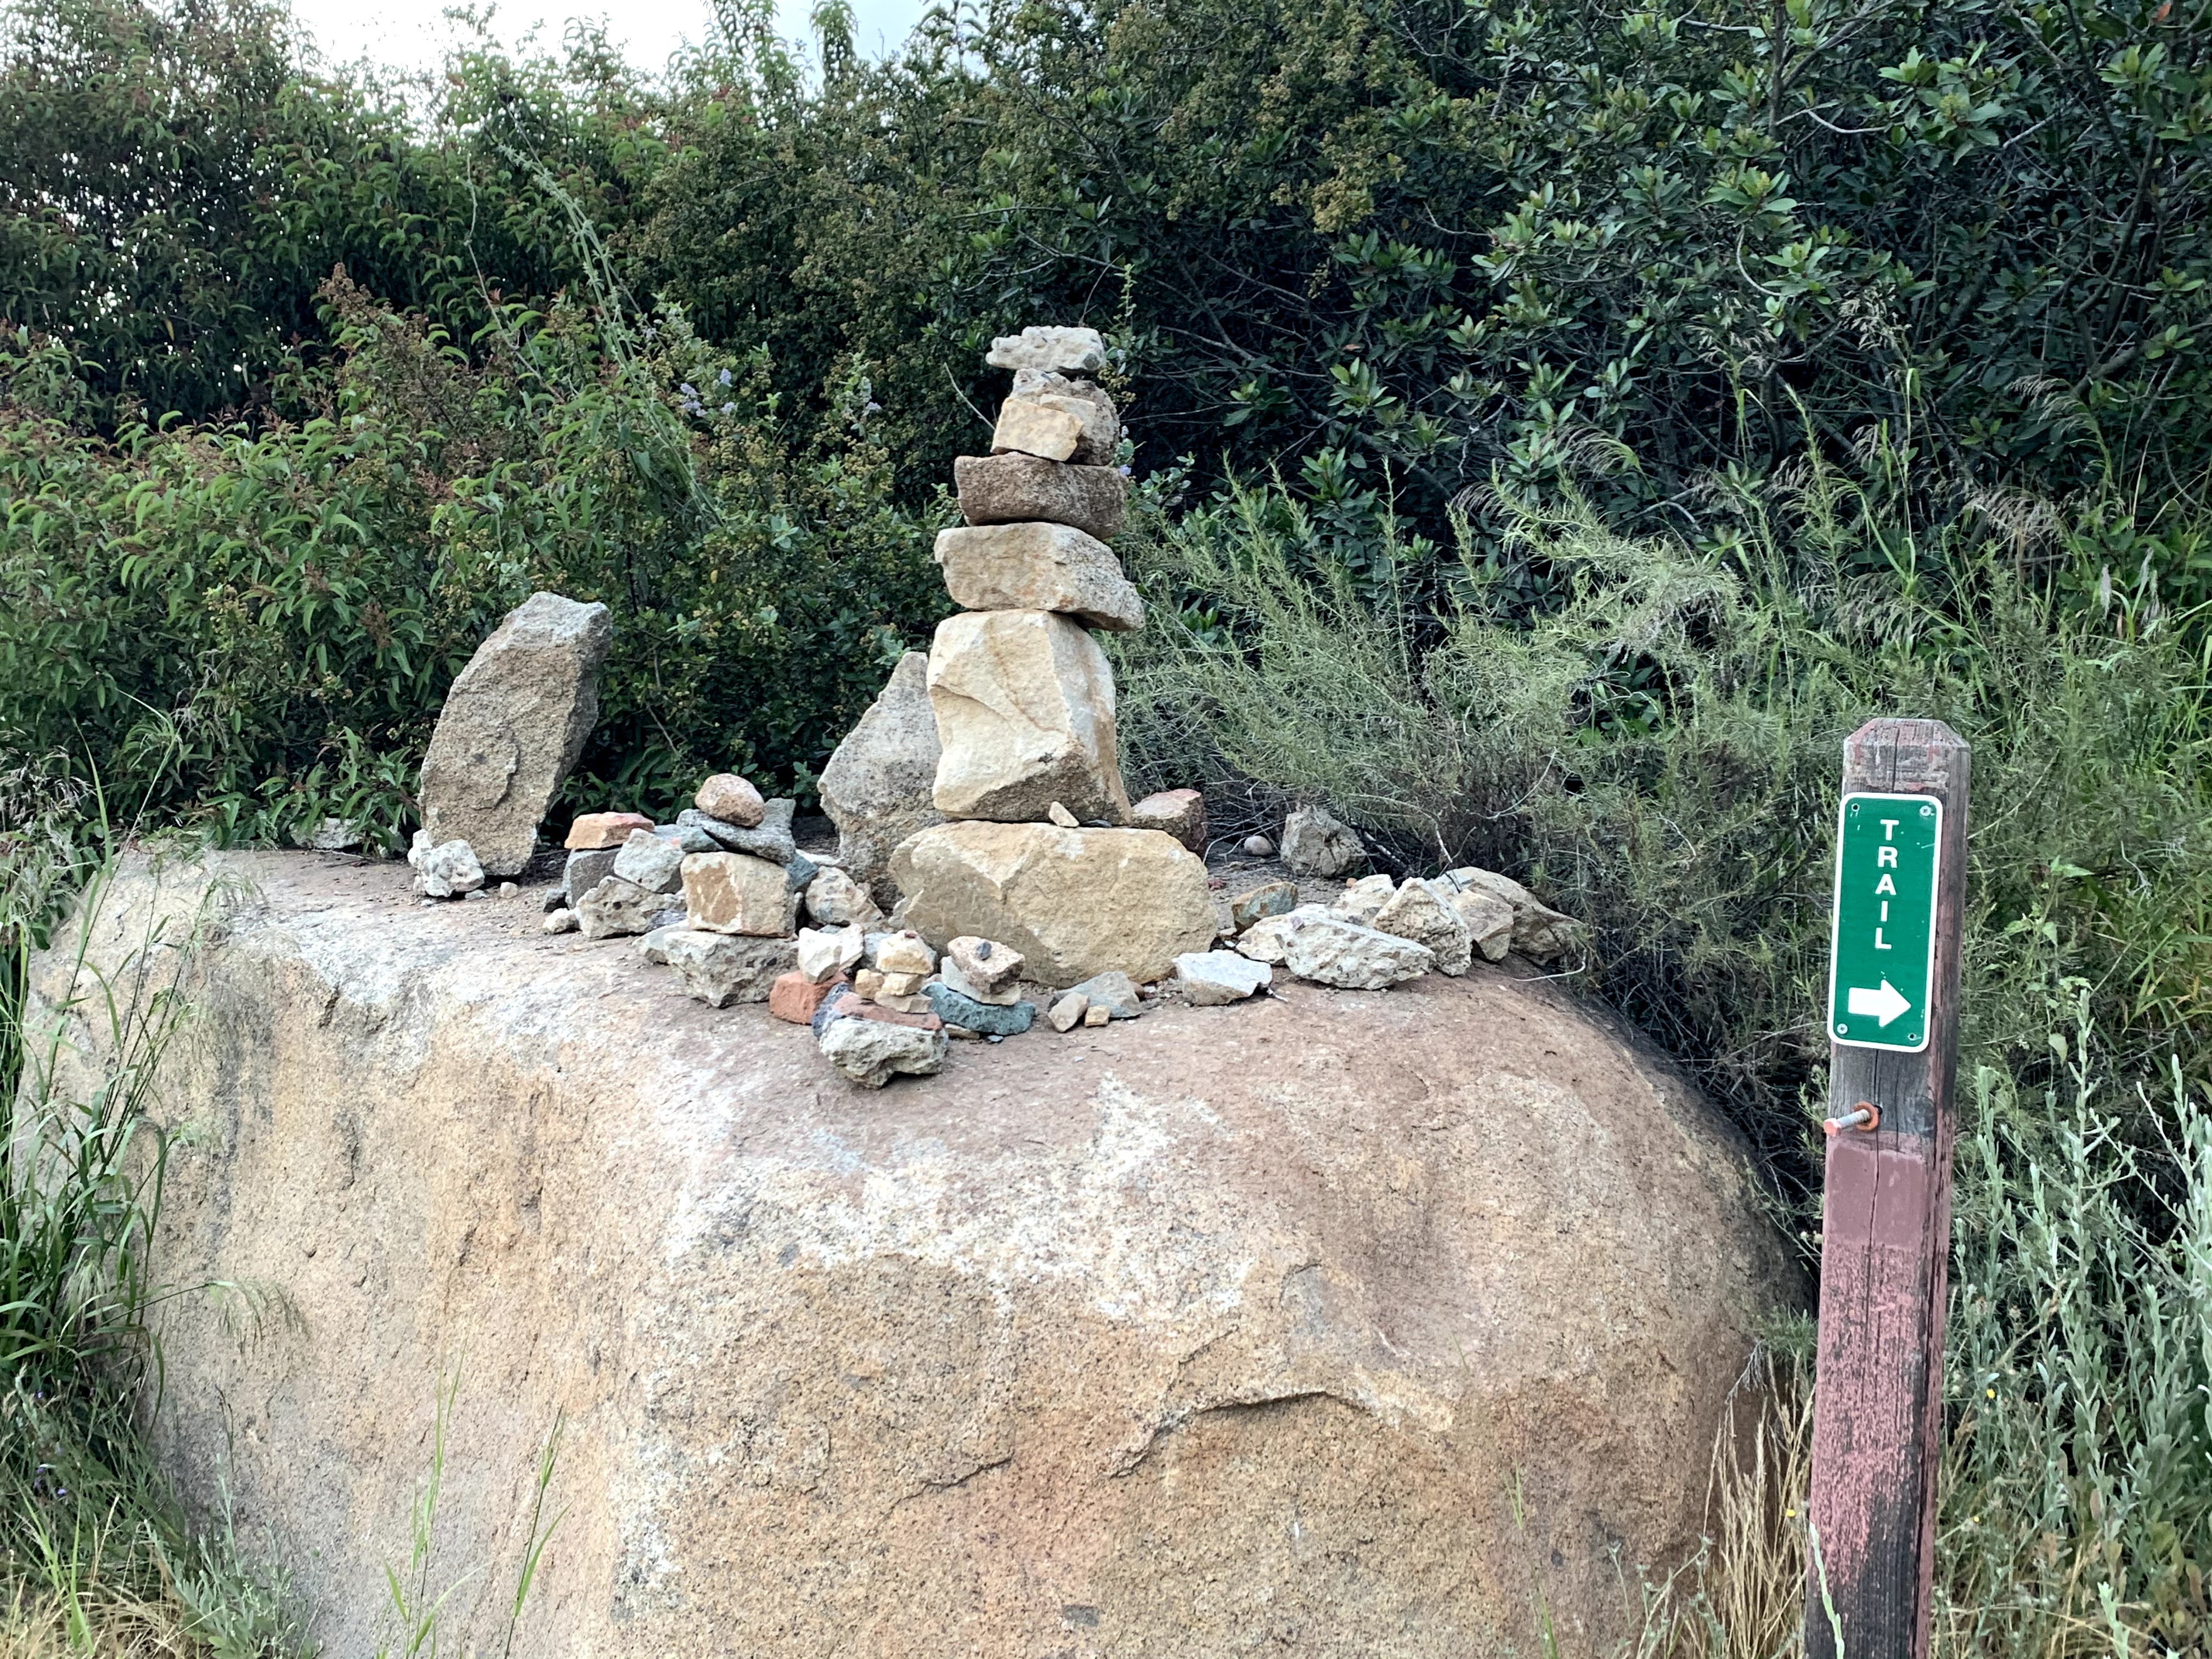
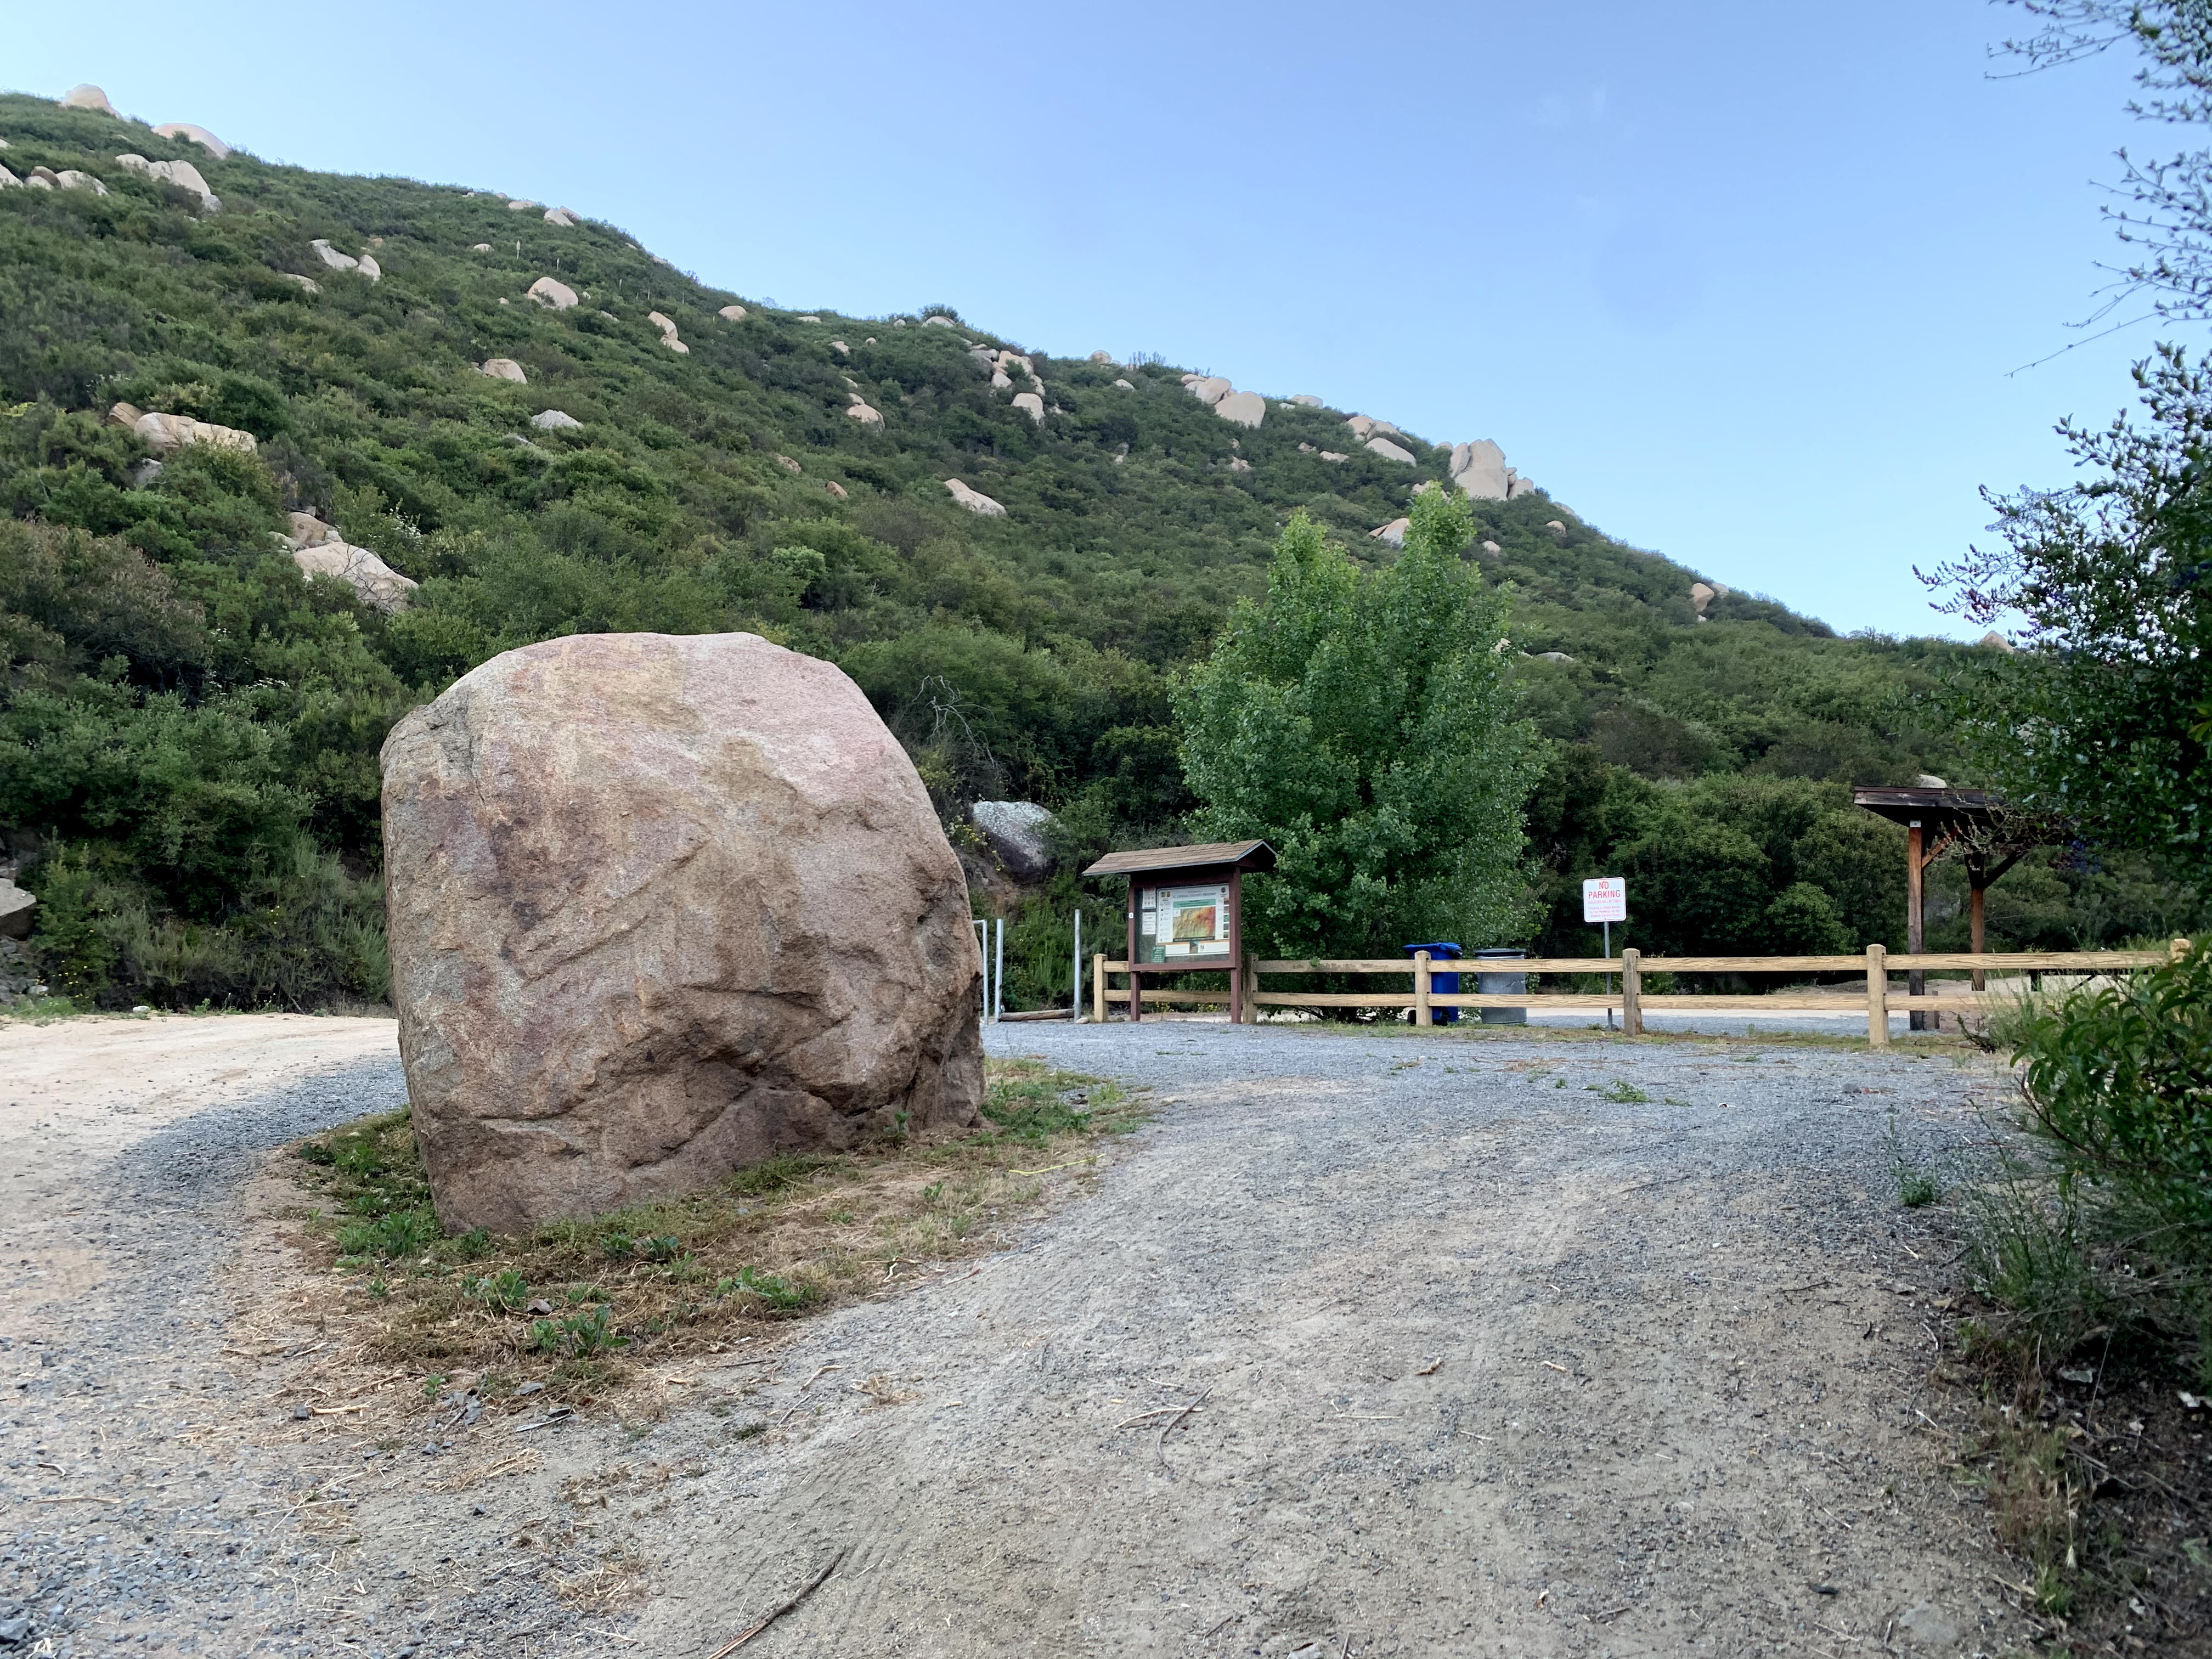
Check-out that uphill slope on the image above. You will walk uphill about .5-mile before you arrive at the actual trail. Halfway-up, allow the Zen rocks to calm your panic down. At the trailhead, there are clean restrooms.

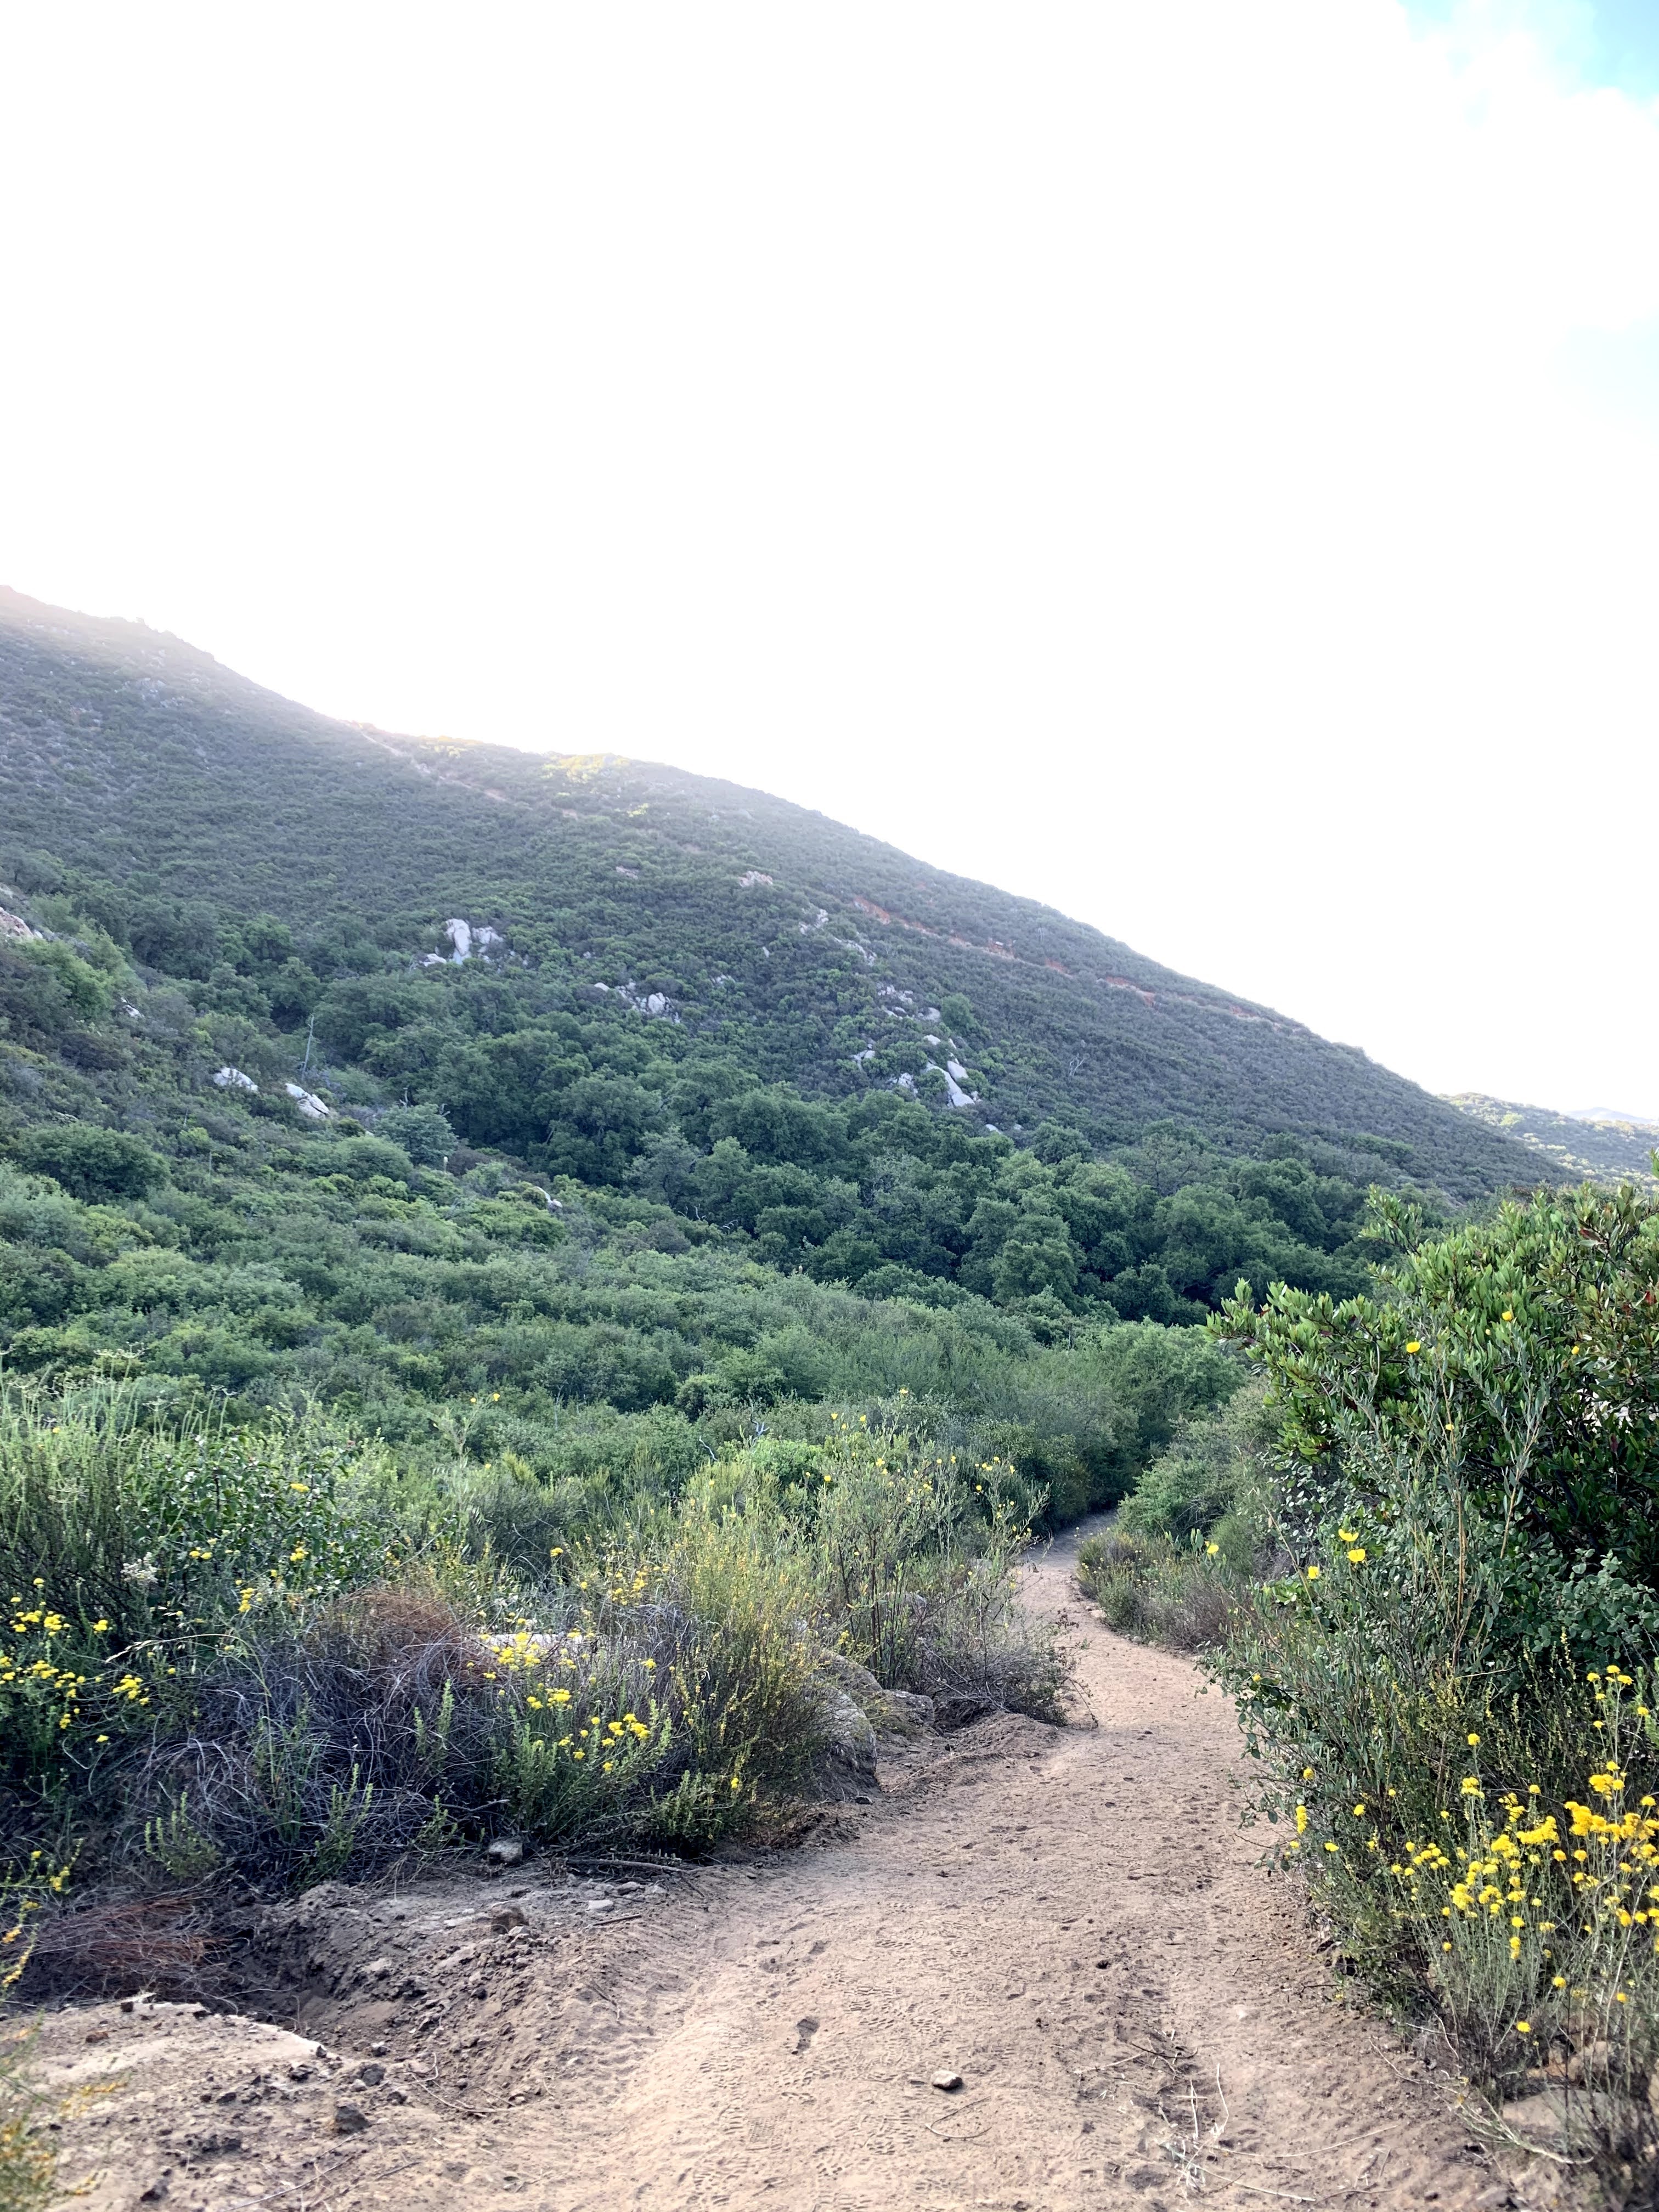
Past the restrooms, take the left path to the trail (the right path is private property). Enjoy the meandering uphill switchbacks lined with rocks and wildflowers. It almost feels idyllic. There's a bench in case you need to sit-down. As the trail winds to the east, you'll have your first view of the El Cajon Mountain Summit and you may be whining to yourself, "Is that it?! Are we really going to that?! But it's so far and so high!"


After the switchbacks, you'll get to a wider trail that has a Parking/Trail sign. This will be the first of many that you'll see. It's almost as if each sign encourages you to go back to "parking."
Mile Marker 1 is to your left and is easy to miss because of the overgrown plants. When you get to Mile Marker 1, you may be wondering how is it that it's only been a mile. Each Mile Marker will give you a visual of what to expect - distance and elevation. That'll either encourage or discourage you - you decide.


From Mile Marker 1, be sure to appreciate the downhill slope as you may be hating this on your way back. Look around you. The views, especially as the sun slowly brightens the mountainsides, are amazing! Mile Marker 2 will creep-up and you may be feeling good about yourself. But, look closely at the image and notice the uphill slope that seems to go on forever.


The never-ending uphill trail should be enough of a hint of how tough this hike is. Not only does it seem to just keep going uphill, its steepness and rocky or sandy grounds make for a challenging trek. Don't be shy about stopping and taking breaks. We sure did - a number of times!


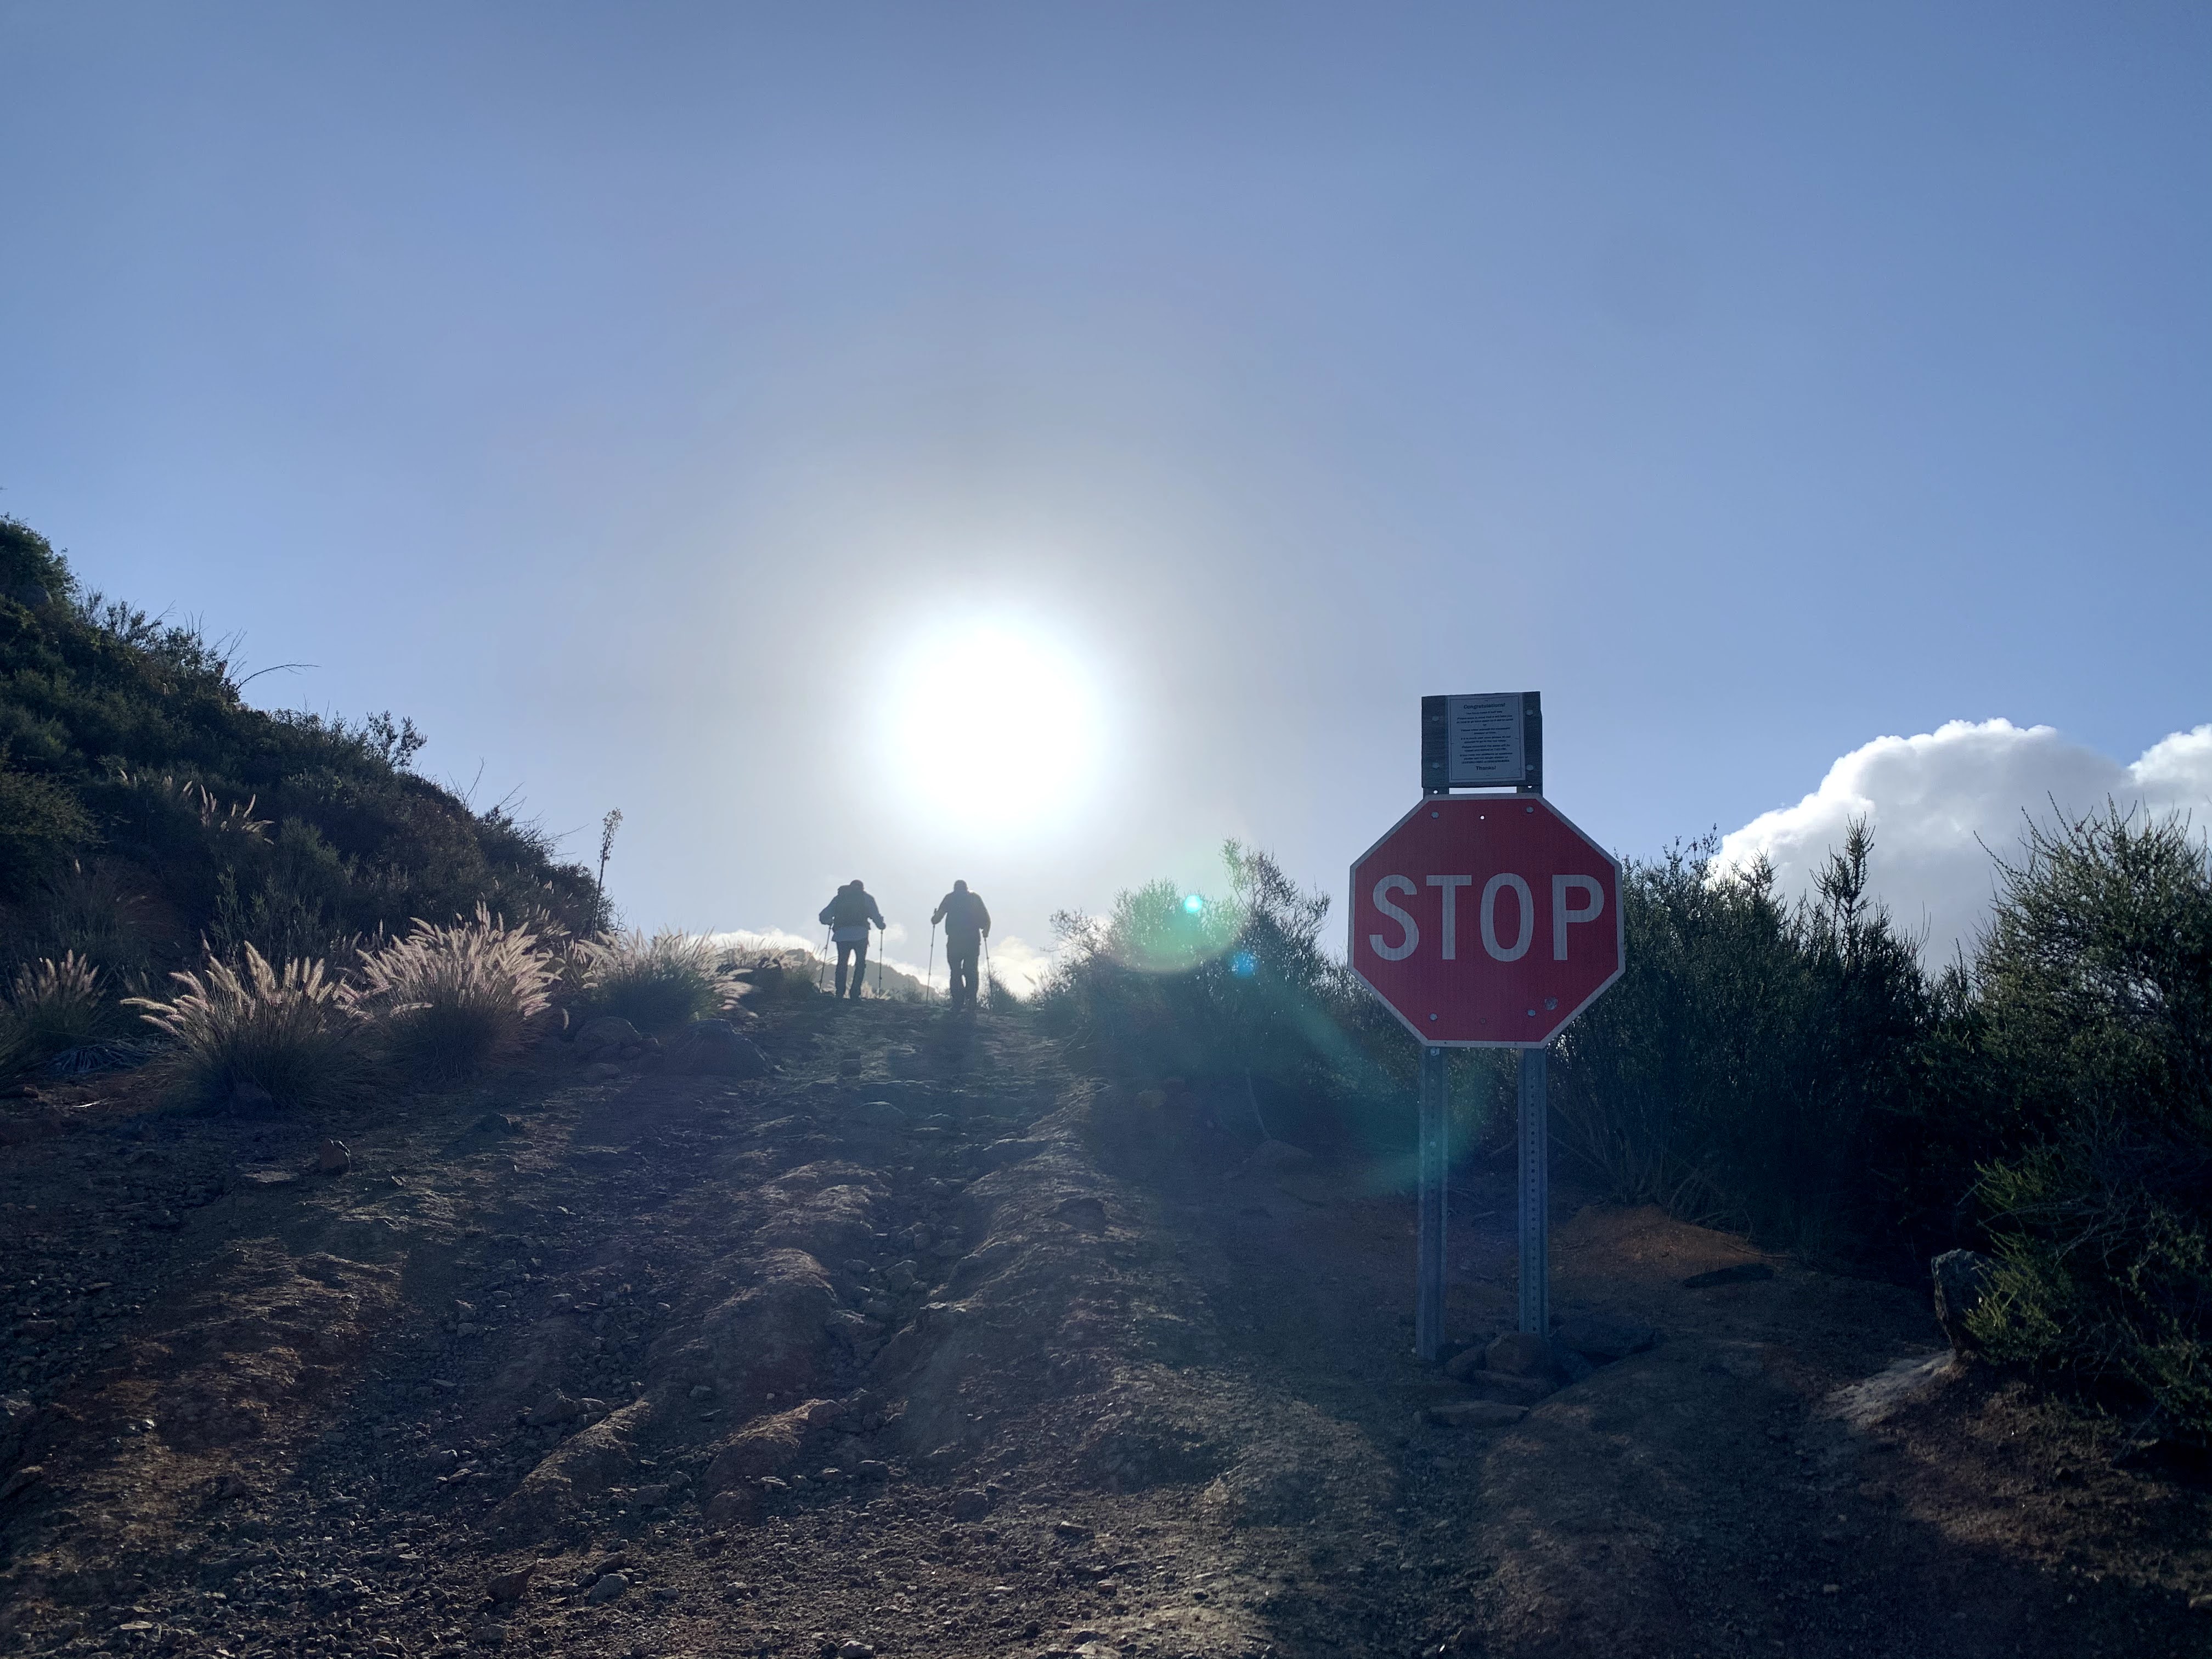
After what feels like your last push, you'll get to the midway point. Remember that sign that motivated us to wake-up early? It's here. Some hikers we spoke to actually mentioned only getting as far as "the bench." This is what they're referring to. To the right of the halfway-point STOP sign is the overlook. As the sign implies, this is the point to seriously consider if you will keep going on this hike or return. After all, it's no small feat to have come this far. We considered it a small victory that we arrived at the halfway point by 7:30 AM - that's only 2 hours from when we started. So, we turned left and went uphill again.

 |
| The "Bench" (overlook) |
As you keep going, you will notice a sliver of line on the mountainside. That's your trail! You've got to be tough enough to look at that trail in the eye and say to yourself, "I got this!" We were kind of ahead of schedule, so we did stop once-in-a-while to enjoy the views and pose for pictures... but, really, to rest.


After that section, the Mile Marker 3.5 image does not intimidate as much. But we didn't want to fool ourselves. We even contemplated stopping-by the "old mines," but decided to conserve our energy. This section of the hike is actually quite pleasant until Mile Marker 4 when the alternating clay and rocky surface with steepness here-and-there (my husband actually had to help me climb down some areas) make for slow progress.


At Mile Marker 4.35, you'll see from the image what looks like the "last" push to the summit. Is it really? Along the way, an abandoned jeep to the right make for a fun conversation on the way. Some of our theories are: (1) A plane picked it up from somewhere and accidentally dropped it or (2) it was full of drugs and had to be dropped from the plane because law enforcement was on its tail. Hhhmmm...


At Mile Marker 5, you can go right to take a detour to the El Capitan (so named because its mountainside looked like Yosemite's El Capitan). From afar, we can see what looks like a house on top of the El Capitan. Maybe that abandoned jeep come from there? Maybe next time, we'll actually get to investigate further.


You know what looked like that "last" push at Mile Marker 4.35? It's more like a scramble. The trail becomes narrower and steeper. At some points, my husband literally had to give me a butt-boost just to get me over the boulders.


By this time, you know nothing scares you. You've gone this far... you can't quit now. So, toughen up! The summit is waiting for you.


As much as I'd like to tell you to enjoy this moment longer, sorry... you have to keep moving. Drink, snack, rest, selfie,... and go again. I have bad knees and even with ankle braces, knee braces, and trekking poles, I knew I was in for pain in our return.

So, push that pain aside...


Exhaustion and pain may make it feel like you're going slower and the trail is longer. I promise you it's not. When you see this sign at each interpretive sign, say, "that's me."

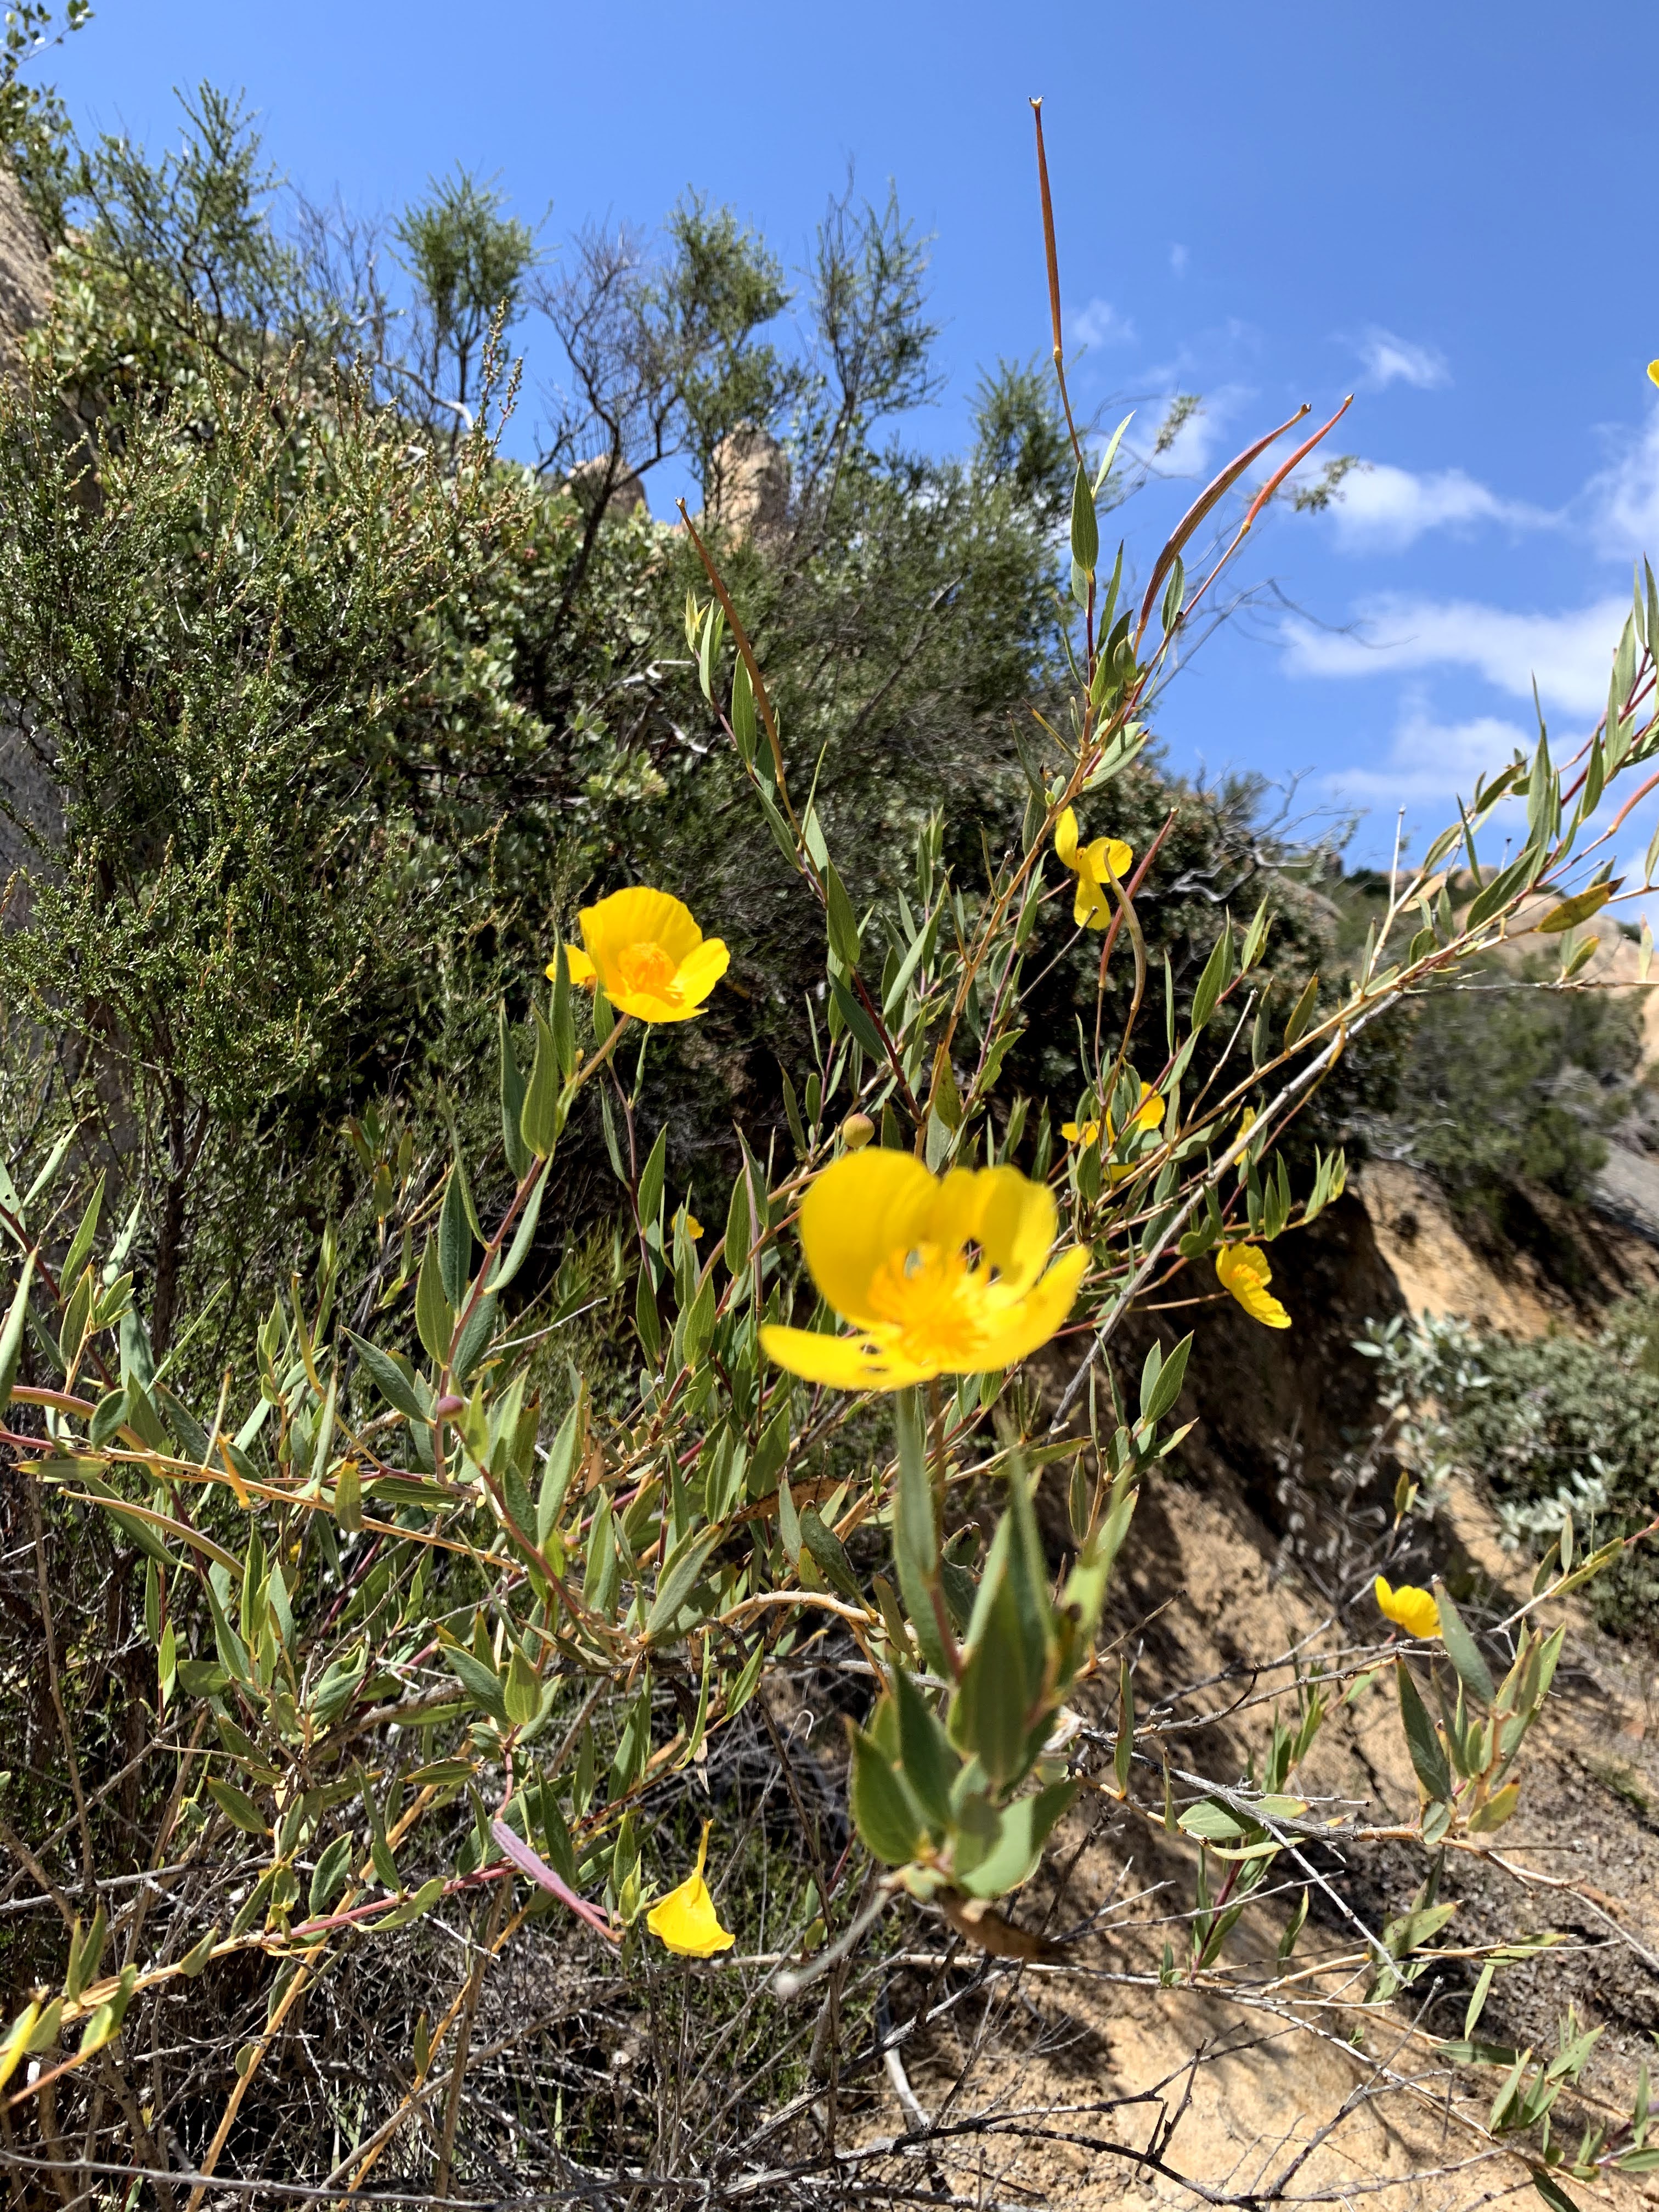
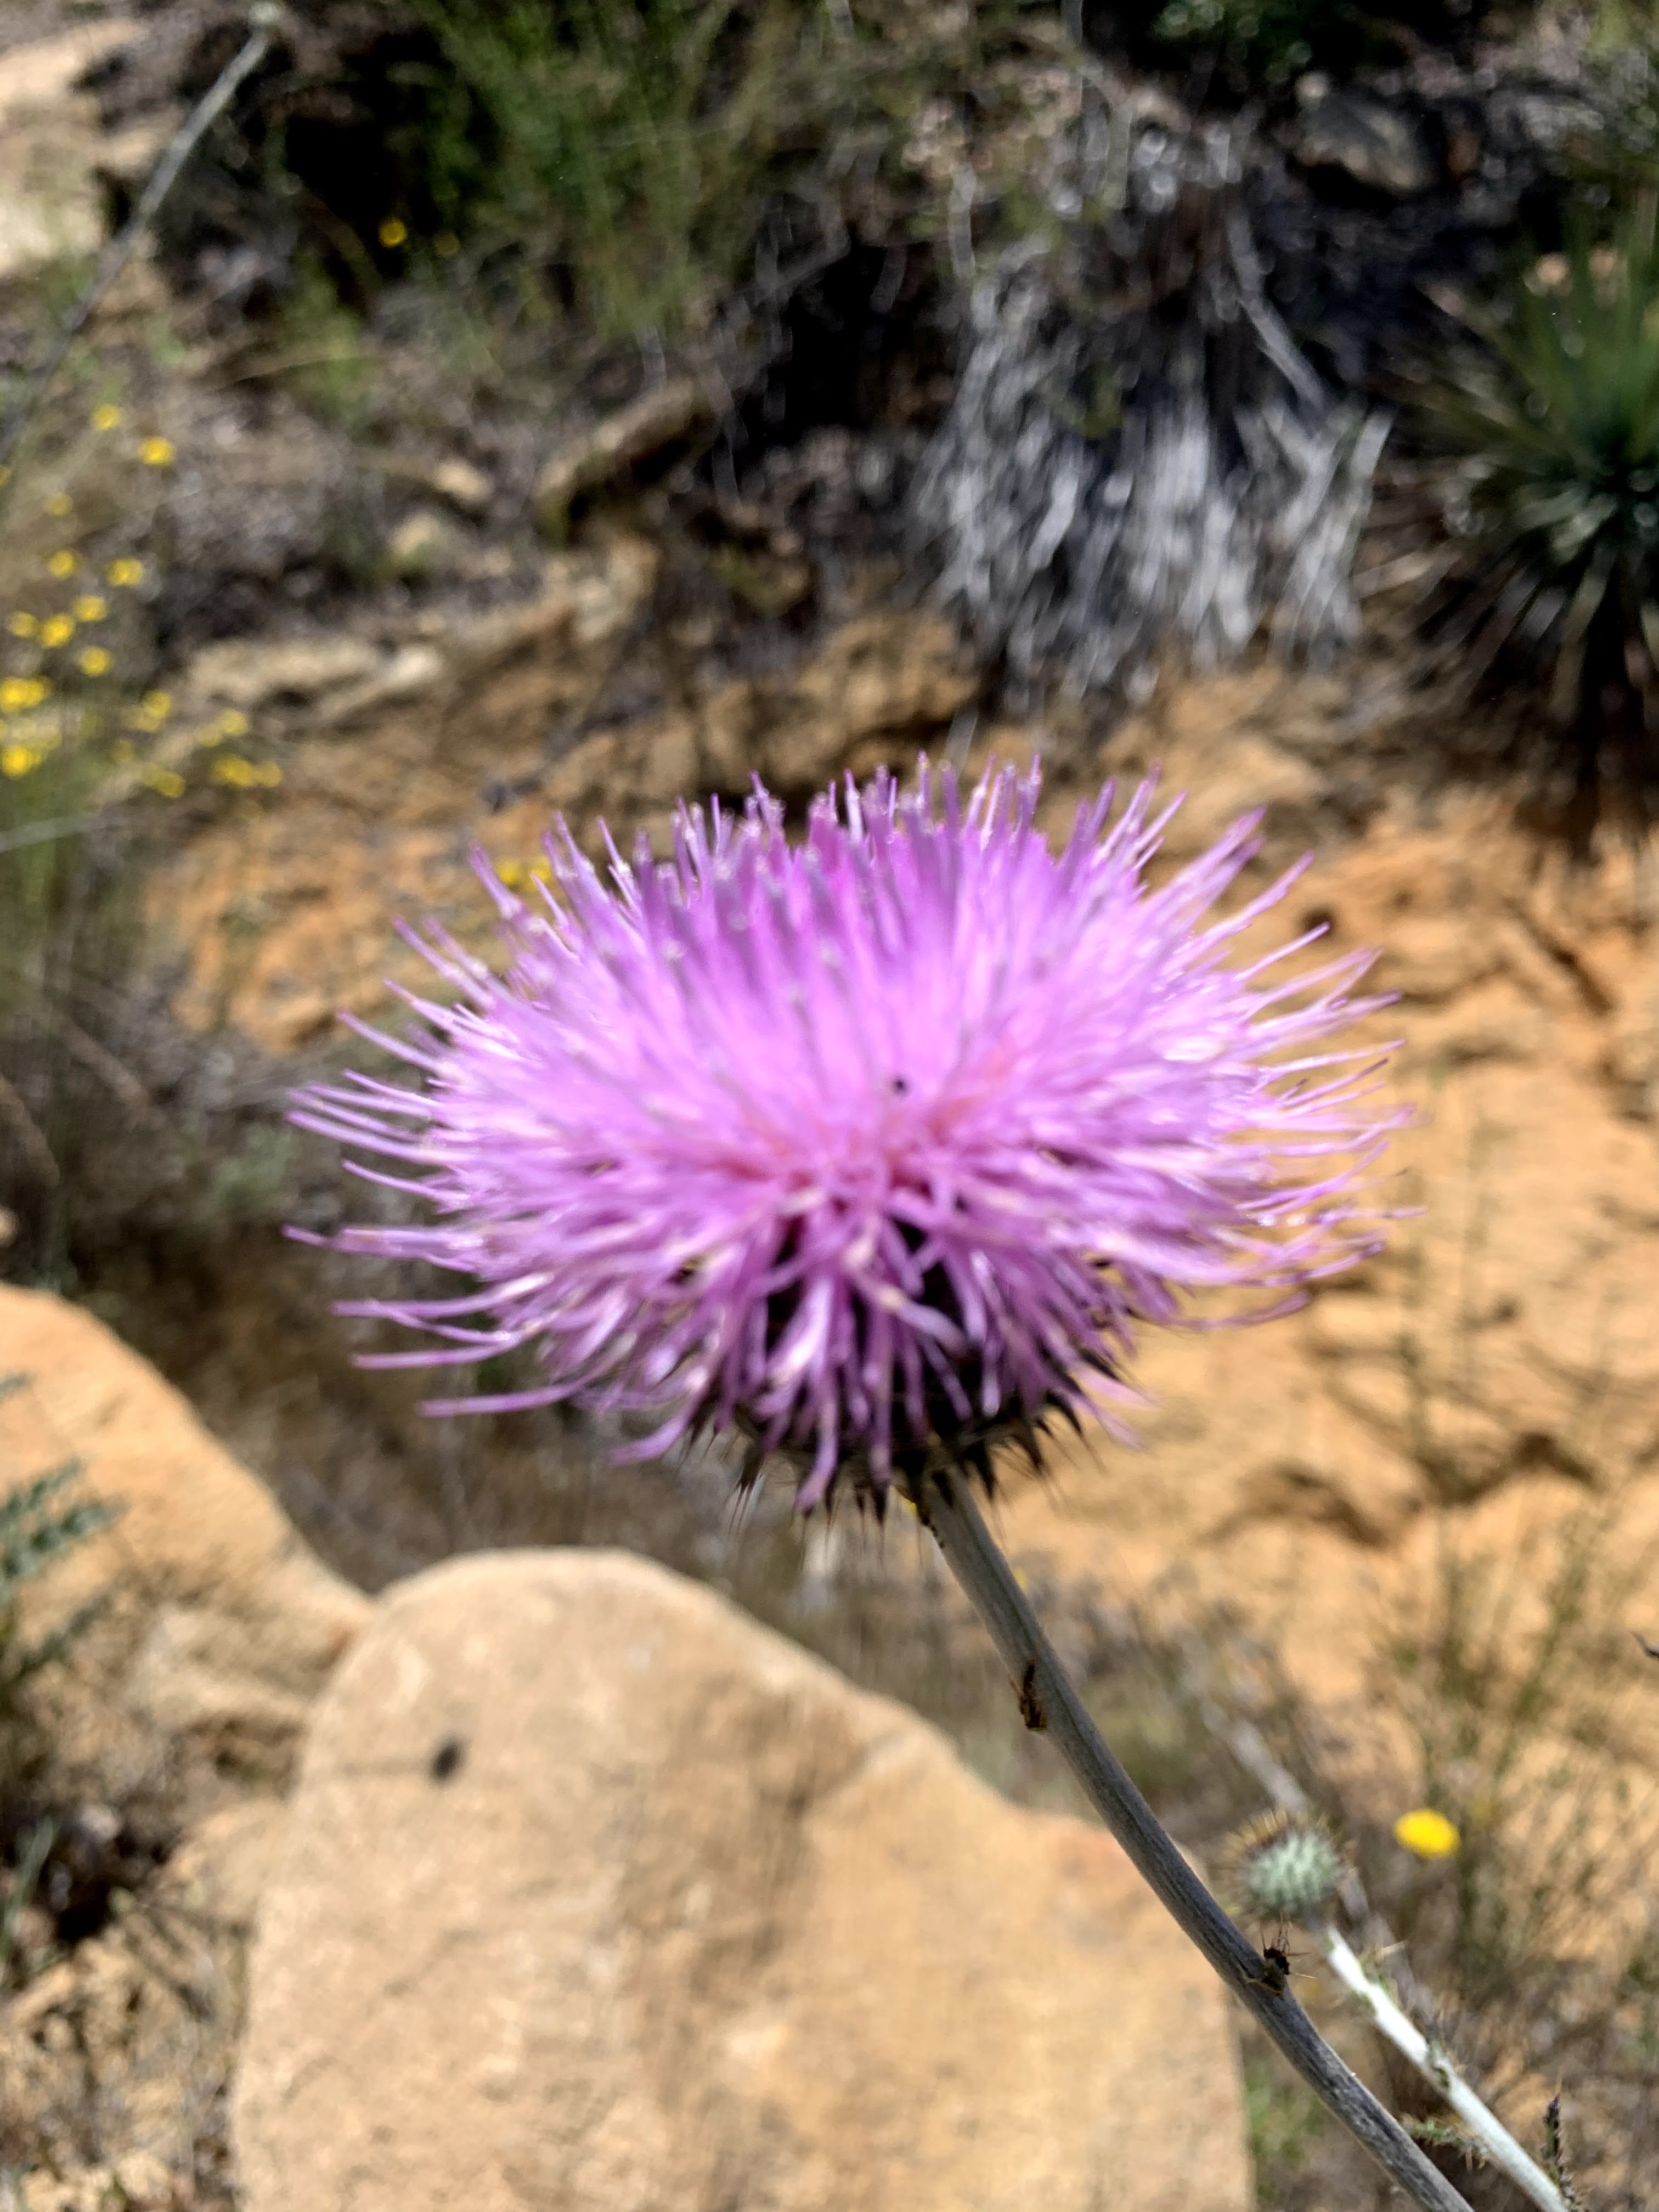
It wasn't until the end of the hike when we actually looked at the Park Map. We felt TOUGH and I'm sure it wouldn't have felt that way if we looked at it at the beginning. Even the flowers seem brighter in congratulating us!


Address: 13775 Blue Sky Ranch Road, Lakeside, CA 92040
Parking: Free, 8:00 AM to sunset (closed August)
Restroom: Yes